One of the most requested features from our users is the ability to add attachments to their bumps. We’re excited to announce that this feature is now available! Here’s a quick guide on how to do it in a few simple steps.
Access the Attachments Library
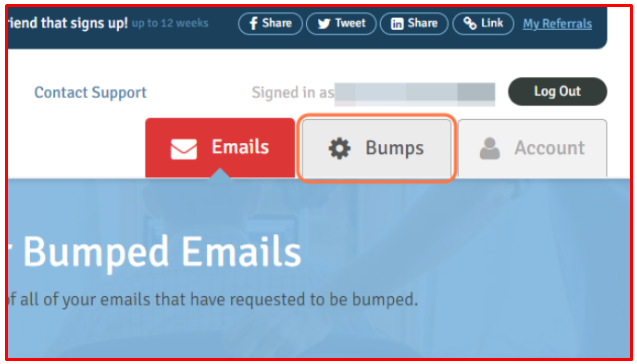
Step 1: Navigate to the ‘Bumps’ page on your Rebump dashboard.
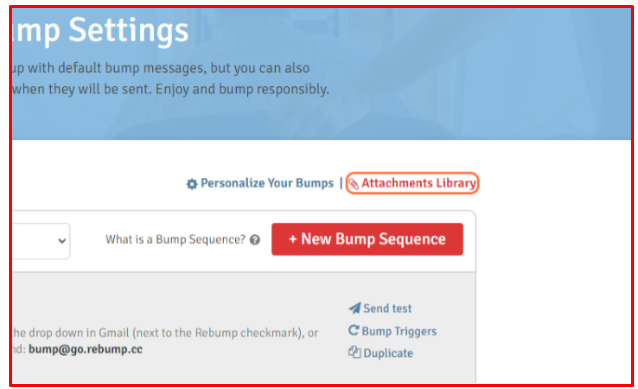
Step 2: Click on the ‘Attachments Library’ link.
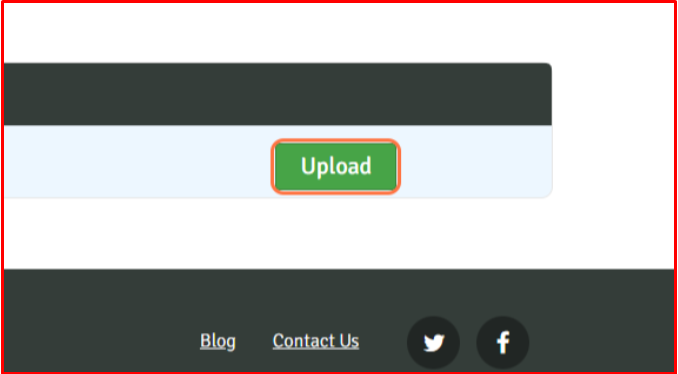
Step 3: Here, you can upload all the attachments you’ll need for your bumps. Uploading to the library first prevents duplicate uploads and ensures that you have all necessary files readily available for any sequence.

Step 4: Do not forget to click on the Upload button after selecting your file.|
Attach the Files to Your Bump
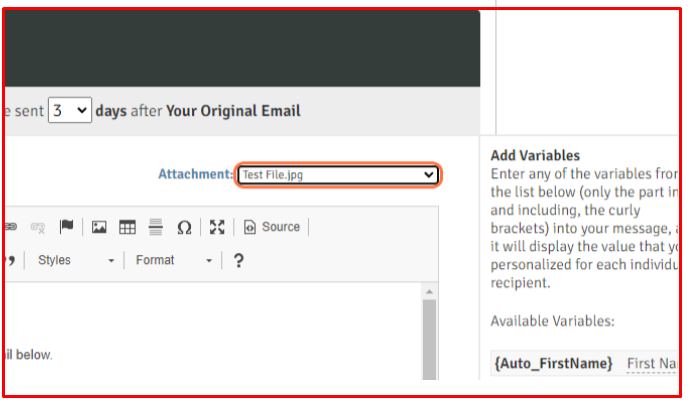
Step 1: Go to the bump you wish to edit.
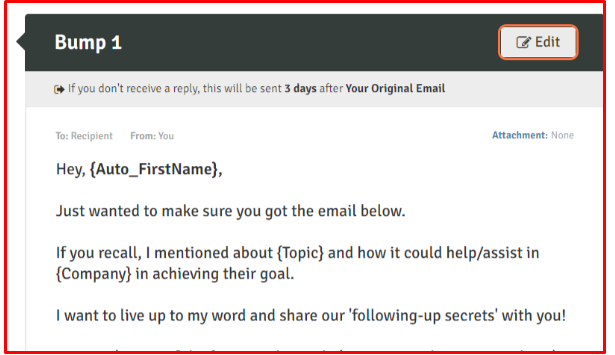
Step 2: Within the edit mode, you’ll find a drop-down list containing all your uploaded files. Select the file you want to attach to this particular bump. Once selected, the file will automatically be attached to your bump.
And that’s it – your file is now successfully attached to your bump!
This new feature is available in the Unlimited Premium plan and it streamlines the process of adding attachments, making your email follow-ups more efficient and effective. Happy bumping!
If you need a hand with this new feature or have any questions, our help center is your go-to resource for all the guidance you need. If you prefer a more personal touch, feel free to drop us an email. We’re here to ensure your experience with our new attachment feature is smooth and hassle-free, so you can focus on crafting those perfect follow-up emails.