Many of our users have inquired about editing options for bumps, especially regarding colors, fonts, and adding images. We’re here to guide you through the process of customizing your email follow-ups effectively. Our step-by-step guide will ensure your bumps not only convey your message but also reflect your unique style and branding, making your emails more engaging and memorable.
Editing Colors and Fonts
By following these steps, you can effectively customize your bumps with unique colors, fonts, and images, enhancing your follow-up emails to be more personalized, visually appealing, and reflective of your brand’s personality. Should you encounter any issues or require additional guidance, our team is always ready to assist. Feel free to reach out or visit our help center for comprehensive information and support.
Steps to stylize your Bump:
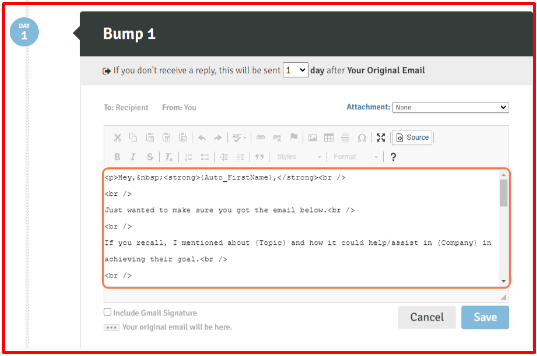
Step 1: To customize colors or use specific fonts, click on the ‘Source’ button in the editor.

Step 2: Start editing the HTML directly and click Save when you are done.
For detailed HTML editing instructions, we recommend resources like W3Schools.
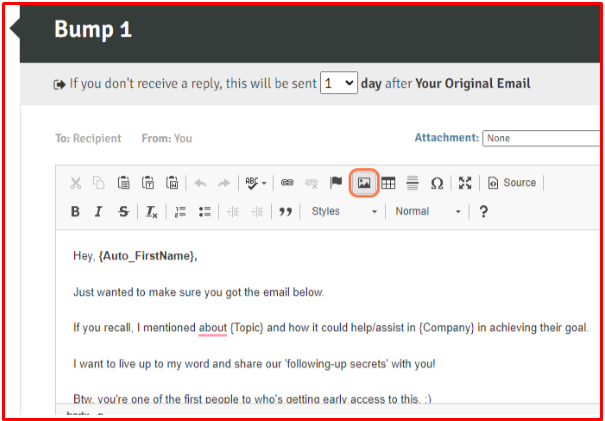
Adding Images to Your Bumps
External Image Links: To add an image, it needs to be hosted online. You cannot upload images directly in the editor.
Step 1: Click on the image icon in the editor.
Step 2: Ensure your image is hosted online (like on Google Drive) and has a direct link ending in .png, .jpeg, or .gif.
Step 3: Enter the image URL in the provided field.
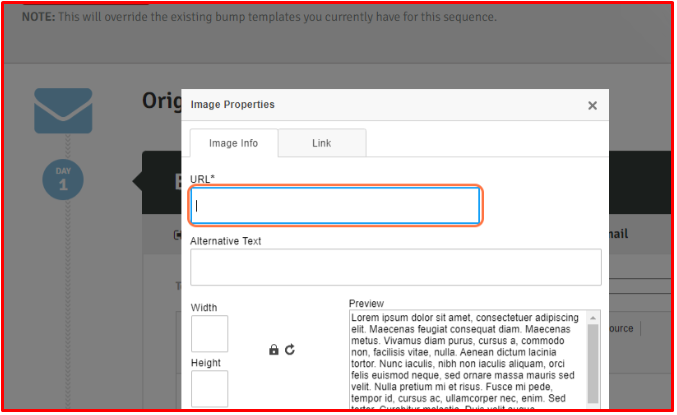
Optionally, adjust the width, height, and alignment.
You can also link the image to a URL if needed.
By following these steps, you can effectively customize your bumps with unique colors, fonts, and images, making your follow-up emails more personalized, visually appealing, and aligned with your brand identity. If you encounter any issues or need further assistance, feel free to reach out or visit our help center for more detailed guides and helpful tips.