
If you are looking to find Gmail settings so you can optimize your Gmail experience, you’ve come to the right place.
In this article, we will walk you through the Gmail settings you need to know to get the most out of Gmail.
Where to find Gmail settings?
Before we dive into all the Gmail settings, let’s see you how to change Gmail settings on all devices.
Gmail settings on your computer
- Open Gmail on your computer.
- In the top right, click the Settings gear icon.
- Click See all settings from the tab that appears.
- From the tabs up top, choose a settings page.
- Once you’ve made changes, click Save Changes.
Gmail settings on Android
- Open the Gmail App on your mobile device.
- In the top left, click the hamburger (three lines) Menu icon.
- Click General Settings or choose an account to change.
Gmail Settings on iPad and iPhone
- On your iPhone or iPad, open the Gmail app.
- At the top left, click the hamburger (three lines) Menu icon > Settings.
1. Extend your undo send time
If you’ve ever sent an email by mistake, you probably wish you could undo it.
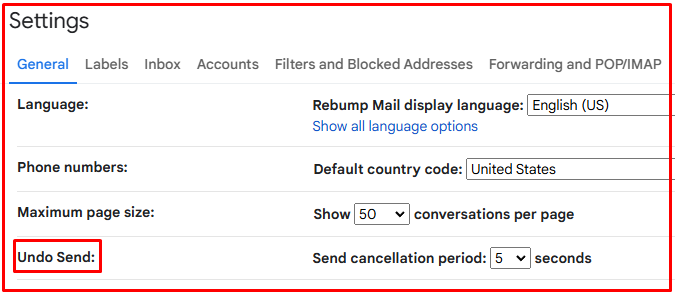
By default, Gmail allows you to undo sending for up to 5 seconds by clicking the button that appears after you send an email, but you can change this to 30 seconds.
By default, Gmail lets you undo sending for up to 5 seconds by clicking the button that appears after you send an email, but you can change this to 30 seconds.
How to change Gmail undo send time:
- On the desktop, open Gmail.
- In the top right, click settings (gear icon.)
- Click See all settings.
- Scroll down until you find Undo Send and Send Cancellation Period.
- From the dropdown menu choose 30 seconds.
- And click Save changes.
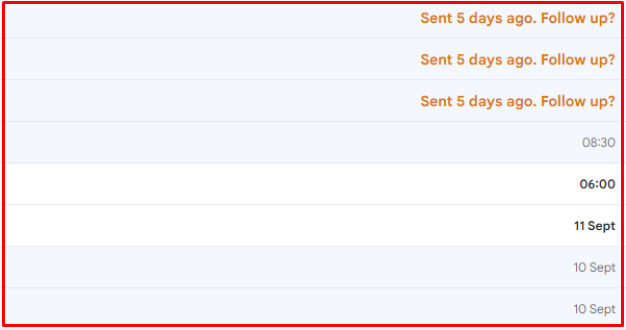
2. Enable nudges and follow-up reminders
With nudges enabled, Gmail will automatically suggest emails to reply to and follow up on with nudges like this at the top of your inbox:
3. Add your Gmail Signature
If you’re using Gmail for work, chances are you want to create a Gmail signature to look professional.
We have a full guide on how to create and add your Gmail Signature here (including a free template).
But to add your signature, all you have to do is:
- On your computer, click the gear Icon at the top right.
- Click on See all settings.
- Under General, scroll down to the **Signature ** section.
- Create a new signature > Name it > Add your signature.

4. Going further with Gmail plugins
Gmail’s basic settings can only take your productivity so far. To truly optimize and automate your email communications, you need powerful tools like Rebump.
Rebump automates your follow-up emails, ensuring no message is forgotten and significantly boosting your response rates. By customizing follow-up sequences and integrating seamlessly with Gmail, Rebump makes your email outreach more effective and efficient.
With Rebump you can:
- Set up an email sequence to send over several specified days, hours, and minutes.
- Base actions on recipient activity, like cancel if reply, follow up if no reply, etc.
- Personalize the emails with names, company details, and whatever else you fancy.
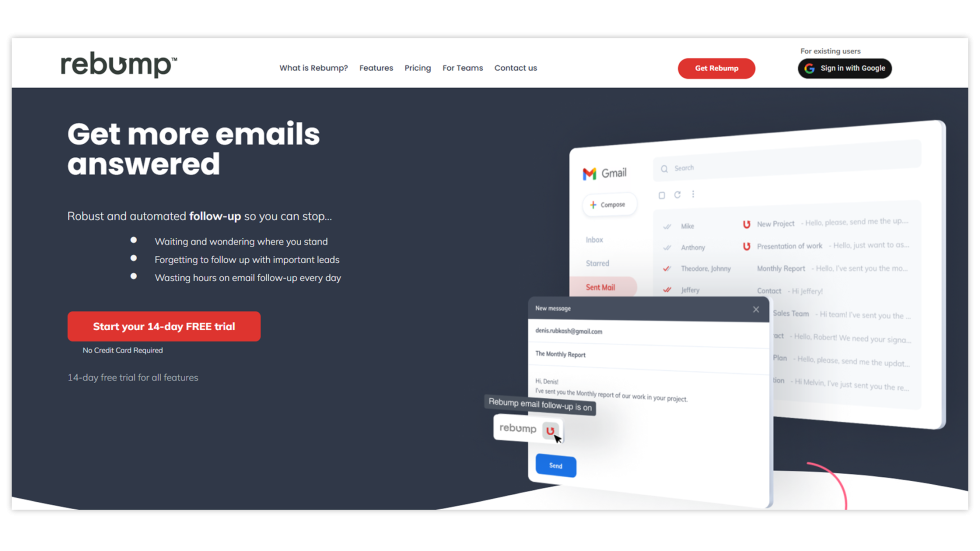
Ready to improve your Gmail game?
Try Rebump today and see how automated, personalized follow-ups can transform your communication. Sign up for your free trial here.